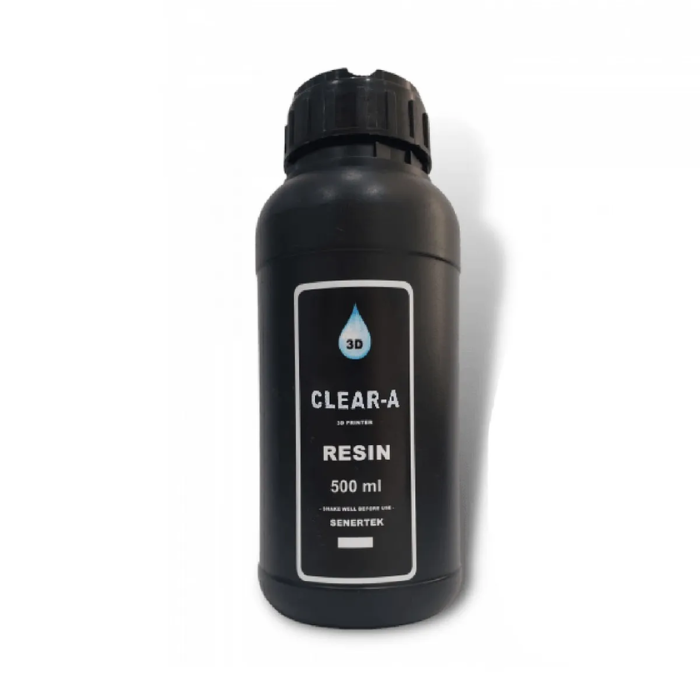
Senertek Clear-A 3D Printing Resin for Clear Aligners
Senertek Clear-A 3D Printing Resin ensures ultra-precise, durable clear aligners for effective orthodontic treatment. CE Class IIA certified, it offers reliable, long-lasting performance with memory shape retention. Its flexible design provides a comfortable fit while maintaining the necessary rigidity for optimal results.
Features:
- Ultra-precise alignment ensures a perfect fit
- CE Class IIA certification guarantees reliability
- Memory shape retains form over time
- Strong and durable, ideal for everyday use
- Combines flexible comfort with rigid performance
- High batch yield enhances production efficiency
- Clear color offers aesthetic transparency
- Compatible with various 3D printing systems
- Specially formulated for dental use
- A cost-effective solution for clear aligners
| Technical Specification |
|
|---|
Senertek Clear-A 3D Printing Resin for Clear Aligners # 500 Gms
- 1 x 500 Gms
Senertek Clear-A 3D Printing Resin for Clear Aligners # 1000 Gms
- 1 x 1000 Gms
Prepare the 3D Printer:
- Ensure your 3D printer is compatible with photopolymer resins and calibrated correctly.
- Follow the manufacturer's guidelines for resin vat preparation and platform leveling.
Resin Handling:
- Shake the bottle of Senertek Clear-A resin gently before use to ensure proper mixing.
- Use gloves and protective eyewear when handling the resin to prevent skin or eye contact.
Printing Setup:
- Load the Senertek Clear-A resin into the resin vat of your 3D printer according to the printer's instructions.
- Adjust printing settings such as layer height, exposure time, and curing settings based on the recommended parameters for Clear-A resin (provided by Senertek).
Model Preparation:
- Prepare the digital model of the clear aligners using dental CAD software, ensuring proper alignment and fit for the patient's teeth.
- Generate the necessary supports and ensure the model is ready for 3D printing.
Printing Process:
- Start the 3D printing process following the printer's instructions, allowing each layer to cure properly before proceeding to the next.
- Monitor the printing progress and make adjustments as needed to ensure quality output.
Post-Printing Steps:
- After printing is complete, remove the printed aligners from the build platform and clean off any excess resin using a suitable cleaning solution (e.g., isopropyl alcohol).
- Cure the printed aligners in a UV curing chamber or under a UV light source to fully harden the resin and enhance its mechanical properties.
Final Quality Check:
- Inspect the printed aligners for any defects or imperfections, ensuring they meet the required standards for dimension accuracy and surface finish.
- Trim and polish the aligners if necessary to achieve the desired aesthetics and comfort for the patient.
Packaging and Storage:
- Package the finished aligners in a clean and sterile environment to maintain their hygiene and quality.
- Store the unused Senertek Clear-A resin in its original container, tightly sealed, and away from direct sunlight or heat sources to prolong its shelf life and preserve its properties.


