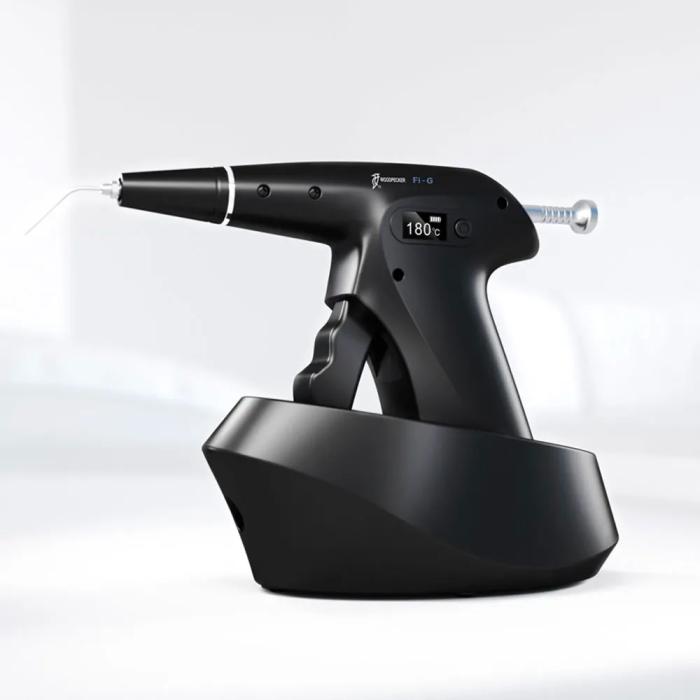
Woodpecker Obturation Gun
The Woodpecker Obturation Gun is a cutting-edge dental tool for efficient root canal filling, featuring temperature controls, real-time display, and ergonomic design for both right- and left-handed use. Its components, including a gutta-percha injection needle and charging base, ensure precise and reliable performance. Designed for endodontic applications, it simplifies and enhances the root canal treatment process.
Features:
- Advanced quality control system ensures safe and dependable operation.
- Temperature control button allows easy selection of preset heating levels.
- Display screen shows battery status and real-time temperature of the heating chamber.
- Includes charging base and power adapter for convenient recharging.
- Cordless design offers flexibility and ease of use.
- Complies with technical, environmental, and storage standards.
- Detailed instructions for installation and disassembly provided in the manual.
- Built with durable materials for long-lasting and reliable performance.
Indication:
- Used to heat and soften gutta-percha for filling the root canal after preparation.
Advantages:
- Dual display screens on the left and right allow for personalized viewing based on user preference.
- Ergonomic design provides a comfortable grip.
- Equipped with a reliable and long-lasting Panasonic battery from Japan.
| Technical Specification |
|
|---|
- 1 x Obturation Gun
- 1 x Power adapter with cable
- 1 x Gutta-percha injection needle 23G#24mm
- 1 x Gutta-percha injection needle 23G #28mm
- 2 x Gutta-percha injection needles 25G #24mm
- 2 x Heat insulation hood
- 1 x Heat insulation sleeve for injection needle
- 2 x Cleaning brush
- 1 x Pushing ram
- 1 x Wrench
- Instruction Manual
Preparation:
- Ensure that the Woodpecker Obturation Gun is fully charged by placing it on the charging base and connecting the power adapter.
- Familiarize yourself with the various components of the gun, including the gutta-percha injection needle, heat insulation sleeve, heat insulation hood, gutta-percha loading slot, battery level
- indicator, temperature controls, "ON/OFF" button, pushing ram, and charging base.
Loading Gutta-Percha:
- Slide the gutta-percha loading slot open by pushing the lever or button designated for this purpose.
- Insert a gutta-percha cone into the slot and close it securely. Make sure the gutta-percha cone is properly seated.
Heating the Gutta-Percha:
- Turn on the Woodpecker Obturation Gun by pressing the "ON/OFF" button. The screen will display the current temperature and battery level.
- Adjust the temperature using the temperature control button. Select the appropriate preset heating temperature for your desired outcome.
Filling the Root Canal:
- After the gutta-percha has reached the desired temperature, position the gutta-percha injection needle into the root canal.
- Gently push the pushing ram to release the heated gutta-percha into the canal. Maintain a steady and controlled flow.
- Move the injection needle along the canal while delivering the gutta-percha, ensuring even distribution.
Monitoring and Adjusting:
- Keep an eye on the temperature and battery level displayed on the screen throughout the procedure. Adjust the temperature as needed.
- Refill the gutta-percha loading slot when necessary. Follow the loading procedure mentioned in step 2.
Cleaning and Maintenance:
- After completing the root canal filling, turn off the Woodpecker Obturation Gun by pressing the "ON/OFF" button.
- Disassemble the components and clean them thoroughly according to the instructions provided in the Instruction Manual.
- Properly disinfect and sterilize the components before the next use.


